The GNU ARM Eclipse QEMU
Contents |
Quicklinks
If you already know the general facts about QEMU, you can directly skip to:
- QEMU Install
- Eclipse plug-in
- Support (using the GitHub Issues)
- How to build (using Docker containers)
- Change log (2014)
- Releases
Why QEMU?
Adding emulator support to GNU ARM Eclipse took quite some time to materialise. By the end of 2014 the decision was made to use QEMU, the long-standing open-source multi-platform emulator. It is mature, it provides a good framework for emulation, it implements a GDB server, it provides support for semihosting, and although it does not intend to accurately simulate processor time behaviour, it does keep a quite accurate track of time when emulating timer interrupts, so it can also be used to emulate applications using RTOS-es.
Why GNU ARM Eclipse QEMU?
QEMU is a great project, but its original focus was to emulate boards with large cores, usually application class, able to run Unix/Linux kernels. Support for bare metal Cortex-M based boards was available only for a very limited range of Cortex-M3 cores, so of little use in GNU ARM Eclipse.
Even more, support for semihosting in the public QEMU version was broken, and the verbosity required for integration with the QEMU plug-in was missing, so it could not be used with the GNU ARM Eclipse plug-ins.
Overview
The GNU ARM Eclipse QEMU is a fork of the public open-source QEMU project, customised for more support of Cortex-M cores, and a better integration with the GNU ARM QEMU Debugging plug-in.
Benefits
The main benefits of using the GNU ARM Eclipse QEMU are:
- users can run the blinky projects generated by the GNU ARM Eclipse templates immediately, without any specific hardware, neither development board nor JTAG programmer; all debugging features, like single stepping, inspecting variables, registers, etc. are supported.
- the emulator provides a very convenient platform for running unit tests, fully supporting the semihosting features required for this.
Supported boards and MCUs
The boards currently supported by the GNU ARM Eclipse QEMU are:
- Maple – LeafLab Arduino-style STM32 microcontroller board
- NUCLEO-F103RB – ST Nucleo Development Board for STM32 F1 series
- NetduinoGo – Netduino GoBus Development Board with STM32F4
- NetduinoPlus2 – Netduino Development Board with STM32F4
- STM32-E407 – Olimex Development Board for STM32F407ZGT6
- STM32-H103 – Olimex Header Board for STM32F103RBT6
- STM32-P103 – Olimex Prototype Board for STM32F103RBT6
- STM32-P107 – Olimex Prototype Board for STM32F107VCT6
- STM32F4-Discovery – ST Discovery kit for STM32F407/417 lines
- STM32F429I-Discovery – ST Discovery kit for STM32F429/439 lines
The following Cortex-M3 and Cortex-M4 microcontrollers are supported:
- STM32F103RB
- STM32F107VC
- STM32F405RG
- STM32F407VG
- STM32F407ZG
- STM32F429ZI
- STM32L152RE
Work to support for the following boards is under way, but no release date is set:
- EK-TM4C123GXL – TI Tiva C Series TM4C123GXL LaunchPad Evaluation Kit
- FRDM-K20D50M – Freescale Freedom Development Platform for Kinetis K20 USB MCUs
- FRDM-K22F – Freescale Freedom Development Platform for Kinetis K22 MCUs
- FRDM-K64F – Freescale Freedom Development Platform for Kinetis K6[34] and K24 MCUs
- FRDM-KL25Z – Freescale Freedom Development Platform for Kinetis KL[12][45] MCUs
- FRDM-KL26Z – Freescale Freedom Development Platform for Kinetis KL[12]6 MCUs
- FRDM-KL43Z – Freescale Freedom Development Platform for Kinetis KL[34]3, KL[12]7 MCUs
- FRDM-KL46Z – Freescale Freedom Development Platform for Kinetis KL[34]x MCUs
- LPCXpresso-LPC1769 – Embedded Artists LPCXpresso LPC1769 Development Board
- NUCLEO-F334R8 – ST Nucleo Development Board for STM32 F3 series
- NUCLEO-F411RE – ST Nucleo Development Board for STM32 F4 series
- NUCLEO-L152RE – ST Nucleo Development Board with STM32L152RET6
- Netduino2 – Netduino Development Board with STM32F2
- OLIMEXINO-STM32 – Olimex Maple (Arduino-like) Development Board
- SAM3-H256 – Olimex Header Board for ATSAM3S4BA
- STM32F0-Discovery – ST Discovery kit for STM32F051 line
- STM32F3-Discovery – ST Discovery kit for STM32F303 line
- STM32VL-Discovery – ST Discovery kit for STM32F100 Value Line
- TWR-K60F120M – Freescale Kinetis K60 120 MHz Tower System Module
- XMC 2Go – Infineon XMC 2Go Kit with XMC1100
- XMC1100 Boot Kit – Infineon CPU Card XMC1100 Boot Kit Entry Series
- XMC1200 Boot Kit – Infineon CPU Card XMC1200 Boot Kit Feature Series
- XMC1300 Boot Kit – Infineon CPU Card XMC1300 Boot Kit Control Series
- XMC4200 Enterprise Kit – Infineon CPU Board XMC4200 Actuator
- XMC4400 Enterprise Kit – Infineon CPU Board XMC4400 General Purpose
- XMC4500 Enterprise Kit – Infineon CPU Board XMC4500 General Purpose
- XMC4500 Relax Kit – Infineon CPU Board XMC4500 Relax Kit
- XMC4500 Relax Lite Kit – Infineon CPU Board XMC4500 Relax Lite Kit
Compatibility & peripherals
The GNU ARM Eclipse QEMU maintains a certain degree of compatibility with the original qemu-system-arm, but it does not include the large ARM cores, being focused only on Cortex-M cores.
The main compatibility requirement for the emulator was to support all devices addressed during the standard CMSIS initialisations, which generally refer to PLL & clock settings.
The next requirement was to fully support the GPIOs, at the level of allowing one or more LEDs to blink.
SysTick
The blinky projects generated by the GNU ARM Eclipse templates (and all STM32 HAL projects) use the SysTick to measure time, so any realistic emulation should support SysTick. GNU ARM Eclipse QEMU not only does this, but also provides relatively accurate time intervals, and the SysTick exception can be used from simple time measuring to driving a real-time scheduler with a reasonable number of task switches per second (1000 Hz is OK).
Limitations
- QEMU accurately emulates Cortex-M3 and M4 thumb instructions; specific Cortex-M4 floating point instructions are not supported;
- the current implementation of NVIC uses some related interrupt controller code from larger cores, and is not very accurate.
Documentation
The official QEMU documentation is available in two manuals:
- QEMU Emulator – User Documentation,
- QEMU Internals both located in the doc folder in the install location. The official QEMU site also has a page with various links to QEMU manuals.
All provide a lot of information about QEMU, but do not go into much detail related to Cortex-M.
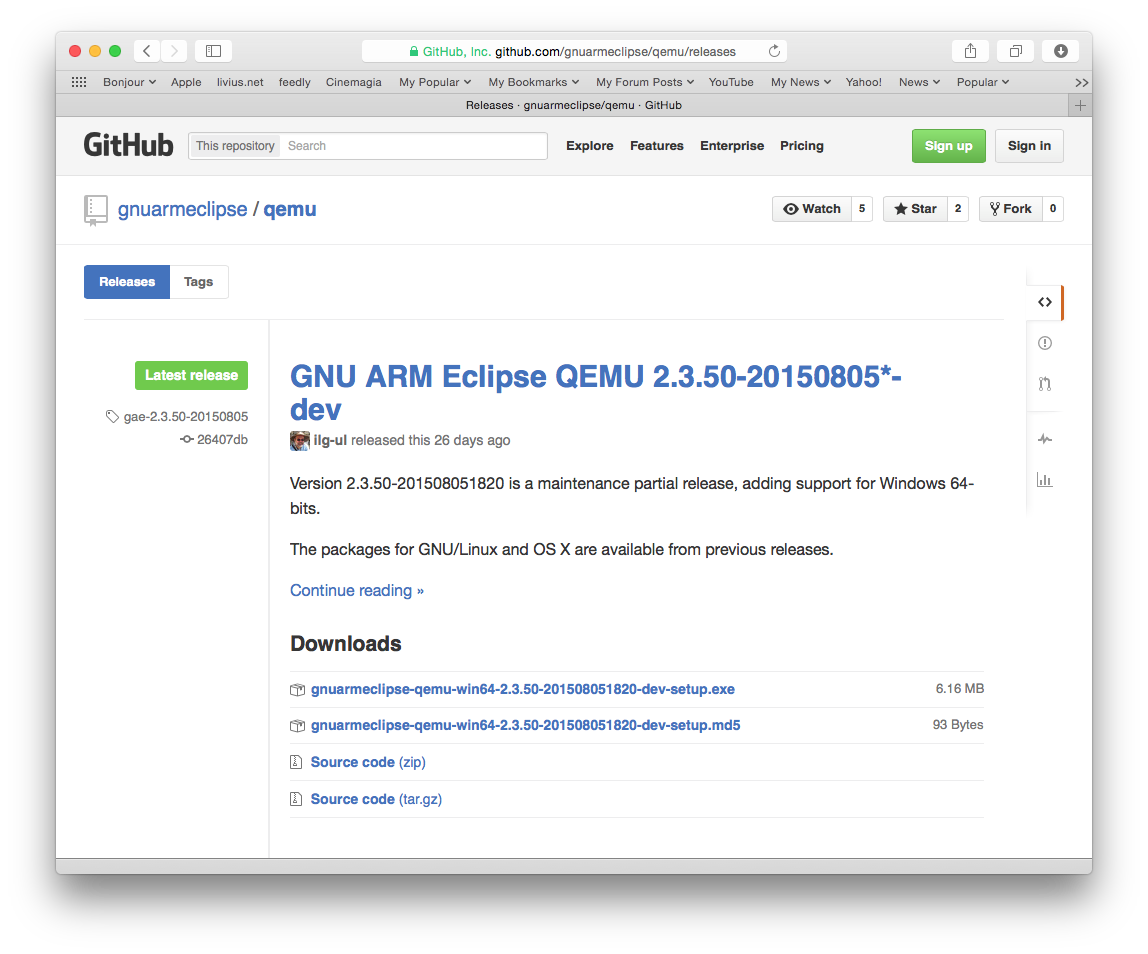
Download
All GNU ARM Eclipse QEMU versions are available from the GitHub QEMU Releases page. Identify the Latest release entry and carefully read the release page.
Install
The details of installing the GNU ARM Eclipse QEMU on various platforms are presented in a dedicated Install page.
Testing
The recommended method to test QEMU is using the new QEMU Debugging plug-in; create a test project using the blinky STM32F4xx C/C++ Project template or even the Hello World ARM Cortex-M C/C++ Project template and run it as explained in the QEMU debugging Eclipse plug-in page.
Future development
After the initial version proved that the idea to define peripheral register via tables is functional, it became obvious that these tables are not for humans to generate, but for machines. These definitions, in one way or another, are already available from the ARM SVD files (very large XMLs). So, for the use of QEMU, the next step is to process the SVD files and generate JSON files, with the peripheral registers, exactly as needed for a fast load by the emulator at startup. Then, from the JSON files, the run-time peripheral register objects can be generated.
There is currently no ETA for these changes, but if anyone is interested to support development, priorities might be changed.
Updates
As a fork of the public open source project QEMU, it is planned that the GNU ARM Eclipse QEMU will follow the releases of QEMU and also follow the GNU ARM Eclipse release schedule, for the specific features.
Change log
The change log is available as a separate Change log page.
Build details
For those interested on the procedure used to build these packages, please read the How to build page. However, the ultimate source for details are the build scripts themselves, all available from the build-scripts Git.
Releases
See Releases.
Other links
- the original QEMU Windows build page
- Docker images
